

How to Dye Metal for a Durable Finish
A durable color on metal starts long before the dye touches the surface. Oil, oxide, fingerprints, and tiny scratches can leave uneven patches or weaken adhesion. That is why metal dye is not a one-size-fits-all product: anodized aluminum, bare steel, and plated parts respond differently. Some metals accept color only after a suitable conversion or coating process. Others need a specialized finish rather than a simple soak. Small differences matter.
This guide explains how to identify the alloy and finish, prepare the surface, choose a coloring method, and protect the result. Expect practical checks, not magic. A clean, hidden test area can reveal blotching, color shift, or poor bonding before a full application. A workshop sample should match the actual part, since edges and shapes can affect the final appearance. Record the alloy if known, existing finish, product name, bath temperature, exposure time, rinse method, and sealer. Photograph the sample in daylight and indoor light. Color can look different. Follow the product maker’s temperature, timing, ventilation, and curing instructions; these details vary by chemistry. Use appropriate gloves and eye protection, and do not assume decorative color provides corrosion protection unless the product data confirms it. Durability depends on the whole system: substrate, pretreatment, color layer, and sealing step. Even then, real-world wear can disappoint. That deserves honest testing.
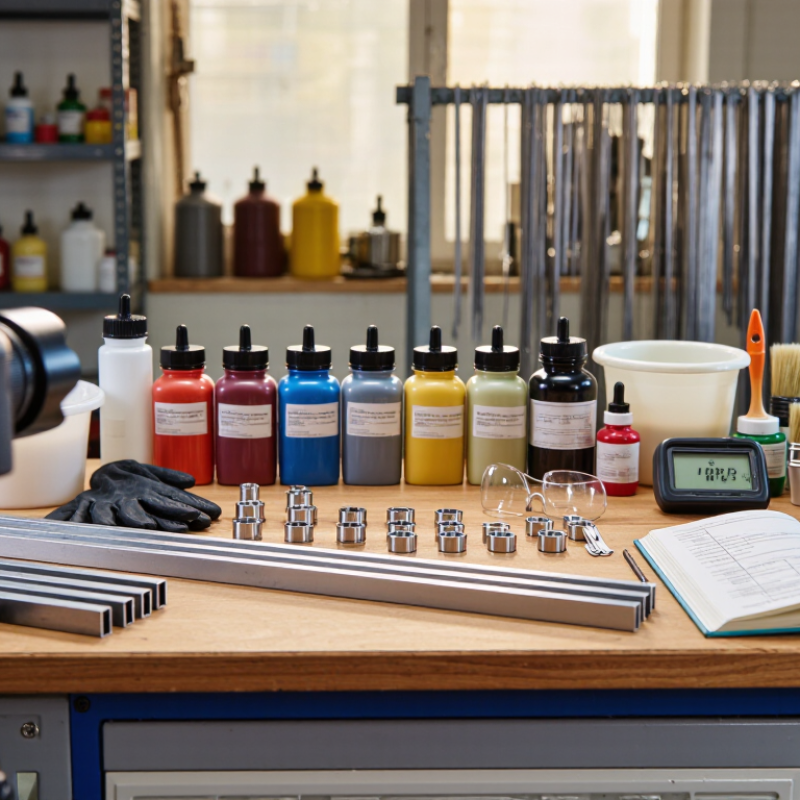
Identify the Metal and Select a Compatible Dye
Before choosing a colorant, identify the metal and any existing finish. Aluminum, copper, brass, steel, and zinc do not accept color in the same way. A magnet can help distinguish many steels from aluminum or copper, but it cannot identify every alloy. Check the item’s description when available, and look for clear lacquer, plating, or anodizing. A coating may block the dye from reaching the metal.
Anodized aluminum has a porous surface that can absorb compatible dyes; bare aluminum usually needs a suitable pretreatment instead. Copper and brass are often colored with metal-specific patinas, which react with the surface rather than simply soaking in. Steel may require a conversion treatment or a coating designed for steel. It is tempting to call every colorant a dye, but that shortcut can mislead. I would test a hidden spot first. Color and adhesion can vary with alloy, polishing, and cleaning.
Tips: Clean away oil and dust, then let the surface dry fully. Test the chosen product on a small, hidden area and follow its label for preparation and ventilation. If the color rubs off or turns uneven, stop and reassess the metal and finish before treating the whole piece. Small test patches save rework.
| Metal to identify | Compatible coloring process | How the color is formed | Durability and limitations | Preparation and protection |
|---|---|---|---|---|
| Aluminum Confirm that the part is aluminum and whether it has an existing coating. |
Anodize the aluminum, then apply a dye made for the anodizing process. | Anodizing creates a porous aluminum-oxide layer. Dye enters the pores; sealing closes them and helps retain the color. | Usually more durable than a surface-applied color when the oxide layer is properly sealed. Color and consistency depend on alloy, surface finish, and process control. | Remove oil and dirt, prepare the surface evenly, and use a compatible anodizing and sealing process. A coating already on the part may need to be removed by a suitable process. |
| Titanium Verify that the part is titanium rather than a similarly colored alloy. |
Use controlled anodic oxidation or heat oxidation; these are coloring processes, not conventional dyeing. | A thin titanium-oxide film produces color through light interference. The resulting color depends on the film thickness and process conditions. | The oxide is part of the surface, but abrasion or scratching can change its appearance. Color is not a thick, wear-proof paint layer. | Clean thoroughly and control the oxidation process. Avoid abrasive handling after coloring; use a compatible clear protective coating if the application permits it. |
| Carbon steel Distinguish bare steel from stainless steel or a plated surface. |
Black oxide or another specified steel conversion treatment; these are chemical conversion finishes, not dyes. | A chemical reaction forms a dark iron-oxide layer on the steel surface. | The finish is thin and offers limited corrosion protection on its own. It can wear through, especially with abrasion or outdoor exposure. | Remove rust, scale, oil, and soil as required by the process. Apply the specified oil, wax, or other compatible post-treatment; choose a different protective coating where stronger corrosion resistance is needed. |
| Stainless steel Check the material specification; appearance alone is not enough to identify the grade. |
Use a process specifically designed for stainless steel, such as controlled oxide coloring or a compatible deposited coating; ordinary fabric or leather dye is not suitable. | Some coloring processes create a thin oxide film whose appearance depends on light interference; deposited coatings add a separate colored layer. | Performance varies by process. Thin colored films can be damaged by scratching, and a deposited coating's wear resistance depends on its composition and application. | Use stainless-compatible cleaning and processing methods. Avoid contamination from carbon-steel tools, which can leave particles that rust; test the selected finish on a sample. |
| Copper or brass Identify whether the surface is solid metal, plated, lacquered, or already patinated. |
Use a metal-specific chemical patina or conversion treatment; conventional dye generally does not bond directly to bare copper or brass as it does to porous anodized aluminum. | The treatment reacts with the metal surface to form a colored reaction layer. Results vary with alloy, surface preparation, and application conditions. | Patina can change with handling, moisture, and wear. A clear sealer can reduce contact and environmental effects, but may alter the appearance and can itself wear. | Remove grease and existing lacquer using an appropriate method. Test the treatment and sealer on a sample; follow the process safety instructions. |
| Zinc or galvanized steel Check whether the surface is zinc metal, zinc-plated steel, or hot-dip galvanized steel. |
Use a coating or conversion treatment explicitly compatible with zinc. Do not assume a metal dye will color the zinc surface. | Color is generally supplied by a compatible applied coating or a specified conversion layer, rather than dye absorbed into the metal. | Adhesion and corrosion performance depend on the zinc surface condition and the selected coating system. Incompatible treatments can damage the zinc layer or adhere poorly. | Clean without unnecessarily removing the zinc coating. Follow the coating maker's surface-preparation requirements and test adhesion on a sample. |
| Selection tip: Identify both the base metal and any existing plating, paint, anodizing, or lacquer before choosing a color treatment. For a durable result, match the process to the surface, follow its preparation and sealing requirements, and test a sample under the expected wear and exposure conditions. | ||||
Related Posts
-

2026 Best Opportunities in the US Chemical Industry for Buyers?
-

What are Chemical Raw Materials and Their Uses?
-

How to Track Chemical Industry Trends for Global Buyers?
-

How to Use Solvent Dye Powder for Vibrant Coloring Projects?
-

China Top 10 Acid Dyes for Textile Industry and Their Applications?
-

How to Identify Key Trends in the Chemical Industry?